Home › Blog › How to render STL files
How to render STL files: a simple step-by-step guide
STL is the go-to format for 3D printing, but STL files are just raw geometry, with no colour, no material and no lighting. On their own they look like a flat grey mesh. This guide shows how to turn an STL file into a clean, professional product image, without learning complex 3D software.
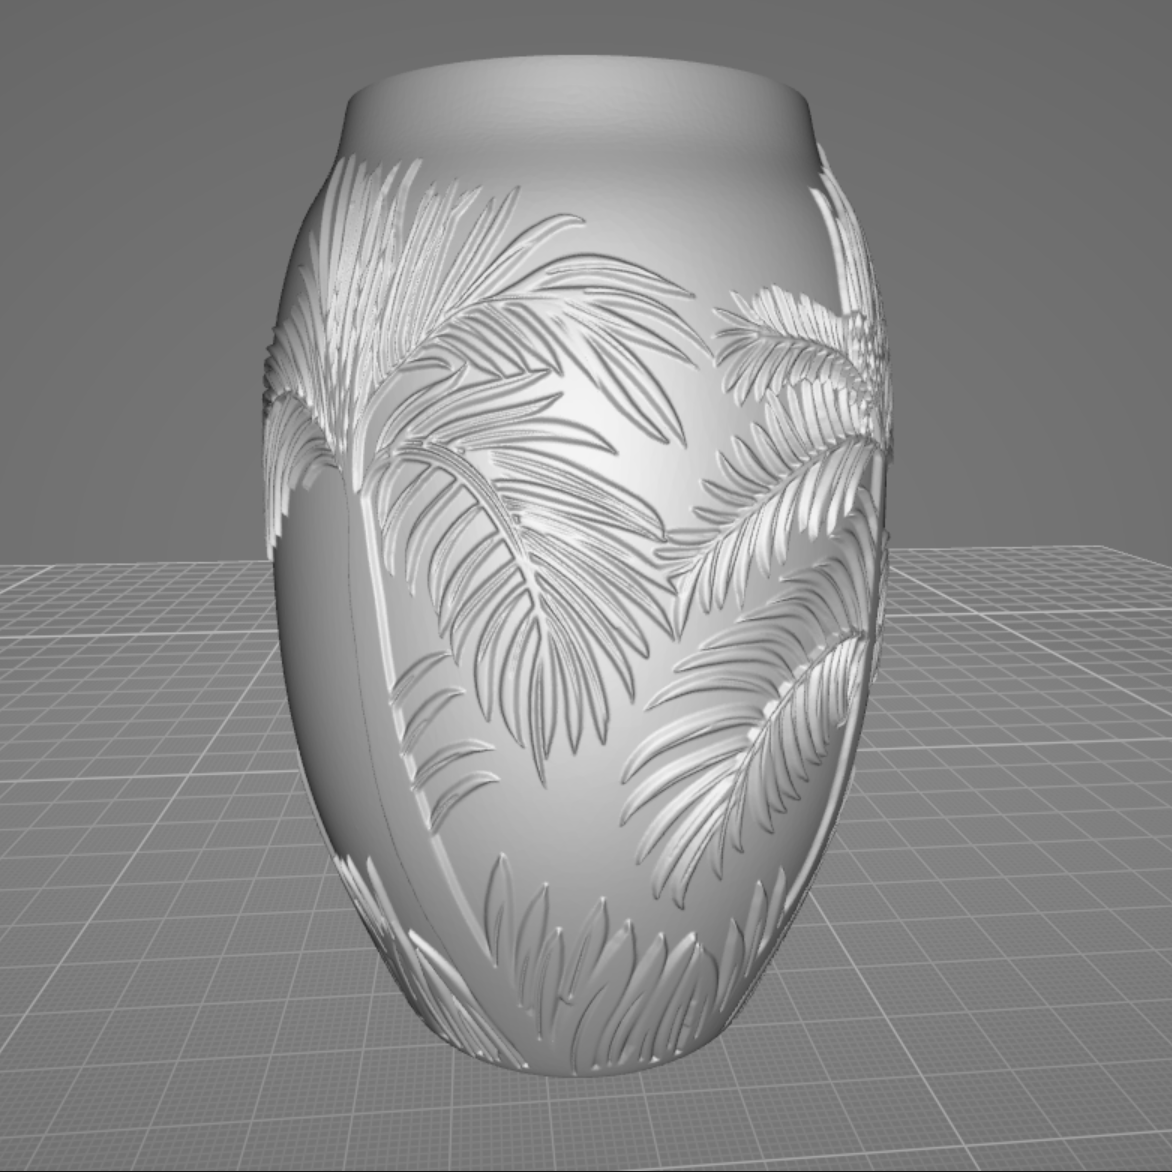
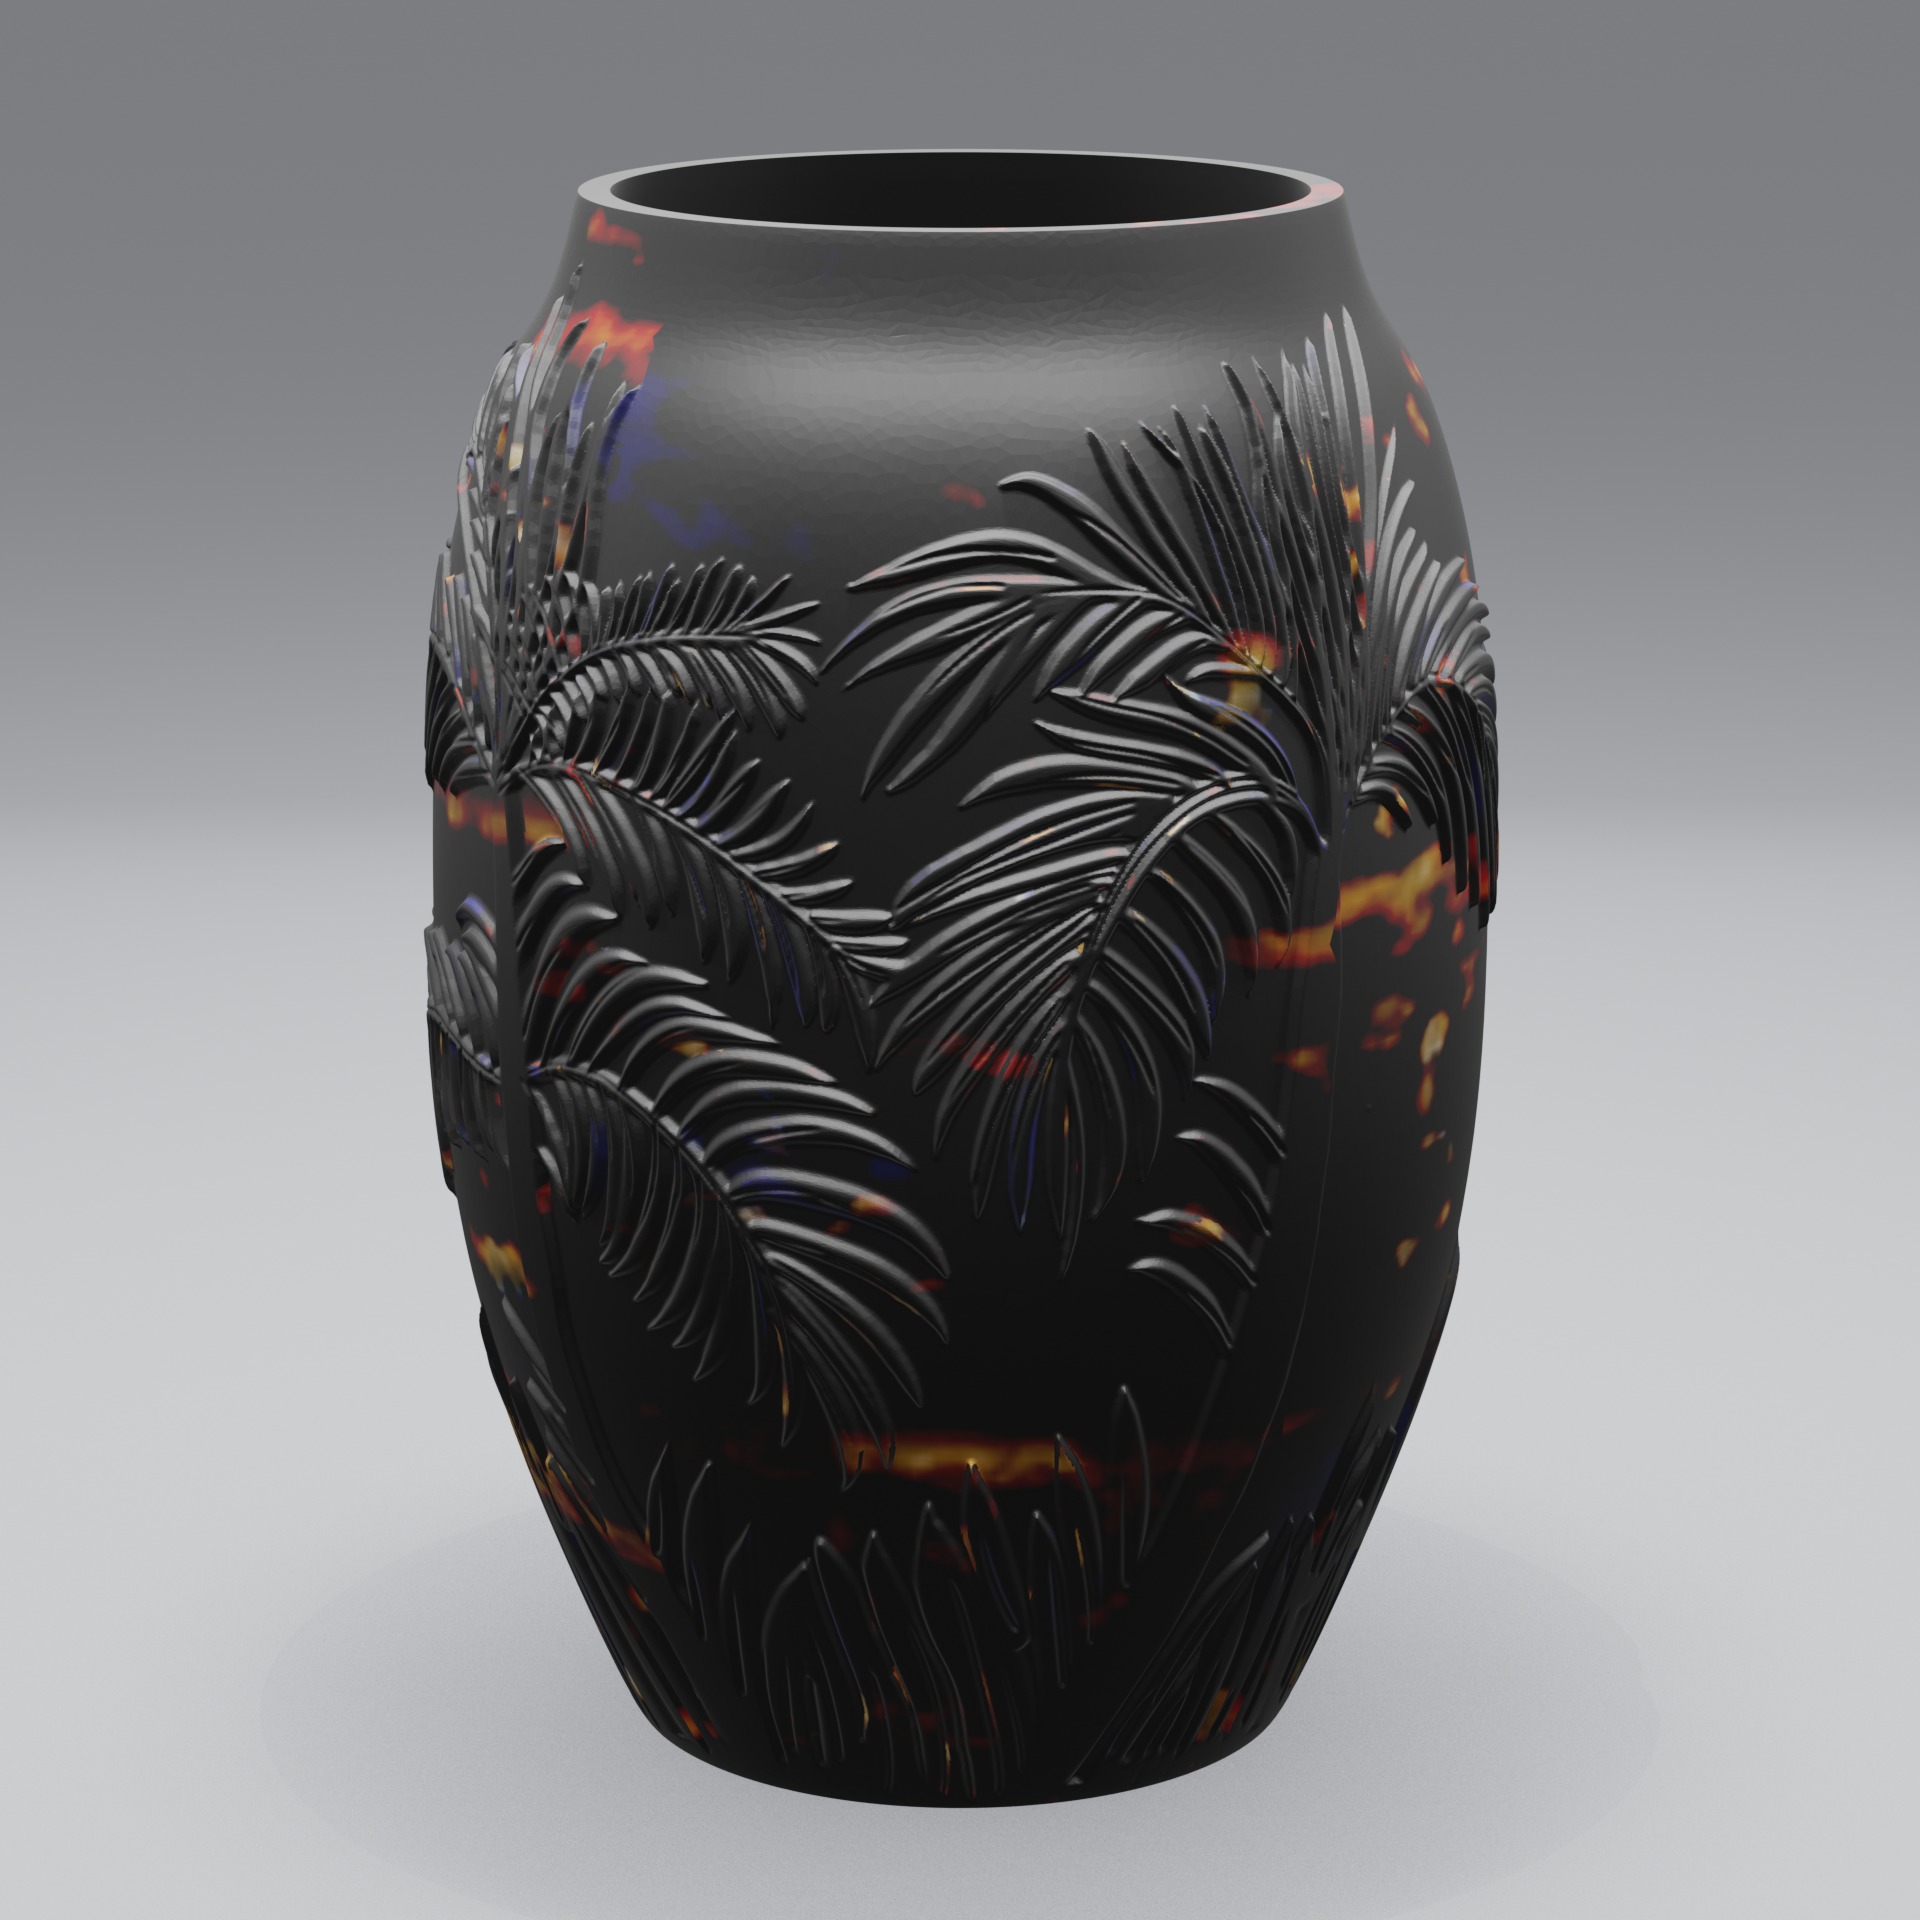
Why STL files look flat by default
An STL file stores only the surface geometry of a 3D model as a mesh of triangles. It has no information about colour, surface material, lighting or camera. That's fine for a 3D printer, which only needs the shape. But it means that when you open an STL on screen, you see a plain grey object with no depth or realism. To make it look like a finished product, you need to add lighting, a material and a camera. That's what rendering does.
Two ways to render an STL file
Option 1: Full 3D software (Blender, etc.)
Powerful and flexible, but built for artists. You import the STL, then set up lighting, cameras, materials and render settings by hand. It works, but there's a real learning curve, often hours of tutorials before your first good render.
Option 2: A dedicated STL renderer
If you just need good-looking images of your model, a purpose-built tool is far faster. Adaptive Render Studio, for example, loads STL files directly and sets up the lighting, camera and material for you automatically. You import, pick a preset and click Render.
How to render an STL file, step by step
Here's the simplest workflow, using Adaptive Render Studio on Windows:
- Install the app and open it. The Free edition works with no time limit, so you can follow along with your own STL file.
- Import your STL model. Drag the .stl file into the window, or use the import button. You can also load several files at once for batch rendering.
- Pick an output preset. Choose a quick render, a set of product photos, or a 360° turntable video, depending on what you need.
- Optionally adjust the look. Change the material (metal, plastic, resin and more), tweak the lighting, or reposition the camera using simple sliders and presets.
- Click Render. The app produces your finished images or video and saves them, ready to upload to a store, listing or portfolio.
Tips for better STL renders
- Match the material to the real product. A metal preset for a metal print, a resin preset for a resin print. It makes the image believable.
- Use a clean, consistent background across a whole catalog so your listings look professional together.
- Add a 360° video for anything with detail on multiple sides. It shows more than a single photo.
- Batch render if you have many models, so they all share the same lighting and look.
Render your STL files for free
Adaptive Render Studio's Free edition renders real STL files with no time limit, so you can try it on your own models before deciding.
Download FreeRelated: